Choosing the right domestic battery for your boat is an important step to enjoying comfortable and stress-free trips out on the water. Whether you have a small tender or a large motor cruiser, the correct battery ensures your electrical equipment runs reliably and your boat is always powered up.
In this guide, we’ll help you make an informed choice step by step. Please note: we are talking about domestic batteries here, not starter batteries.
Factors to consider when choosing a domestic battery
Capacity and duration
The capacity of a domestic battery, measured in amp-hours (Ah), determines how long it can supply power before needing to be recharged. Consider how much power your connected appliances consume and for how long you intend to use them without recharging the battery. Appliances such as lighting, refrigerators, and pumps require a constant power draw. This means a higher capacity is often desirable, especially on larger boats.
Deep discharge and charging cycles
A domestic battery must be able to withstand deep discharge, allowing up to 80% of its capacity to be used without damage. Batteries, such as semi-traction batteries, are specifically designed for this purpose and can handle multiple charge cycles, ensuring a long lifespan. A semi-traction battery is characterised by its suitability for cyclic use.
Maintenance-free versus traditional
When choosing a boat battery, it is advisable to opt for a maintenance-free battery. This type requires less attention as there is no need to top up water. Consider lithium batteries or modern AGM and gel batteries, which require little maintenance and often offer a longer lifespan.
Correct voltage and power
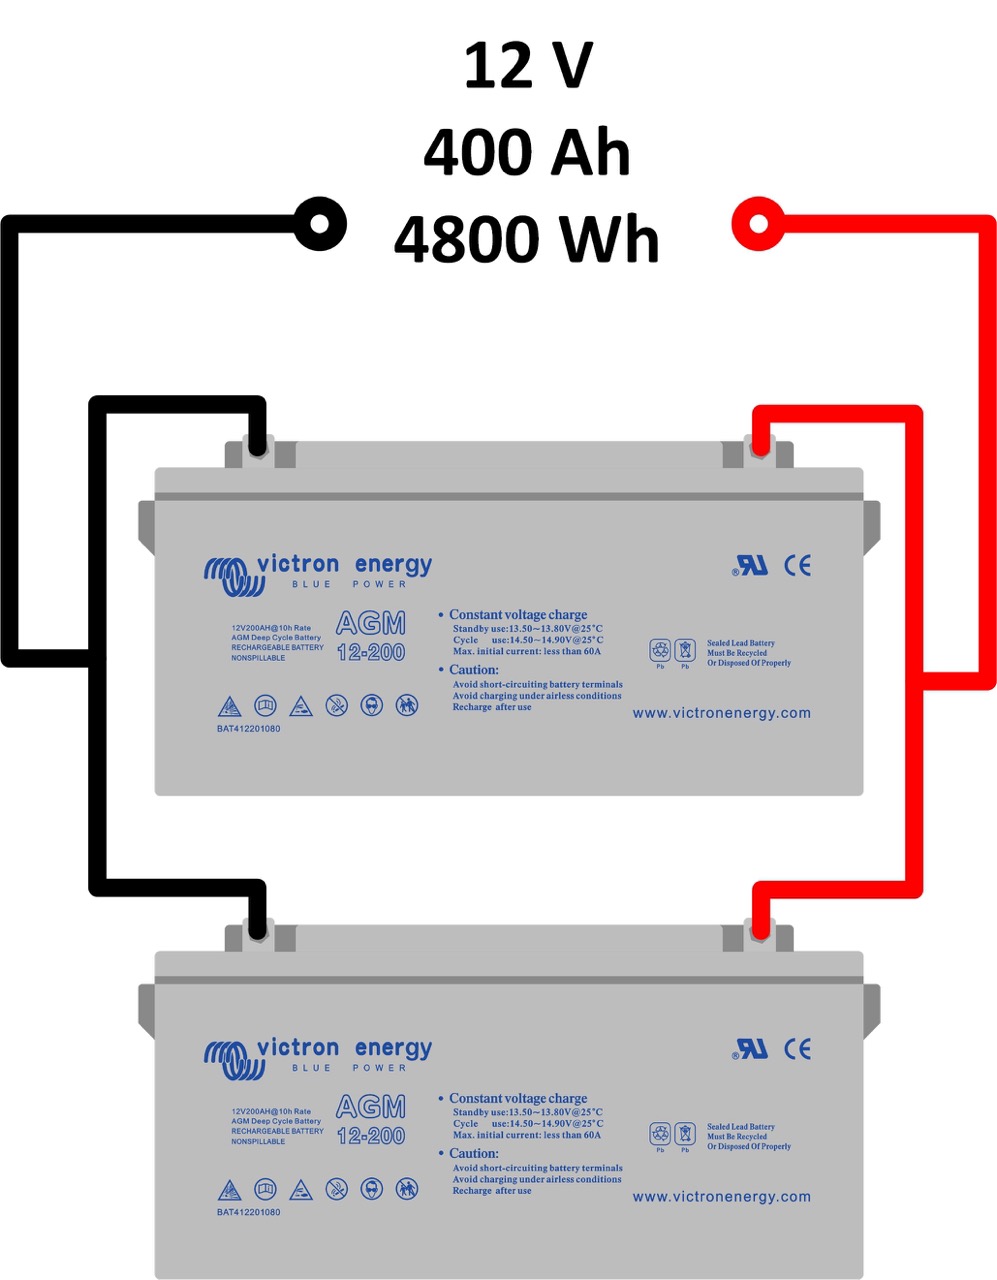
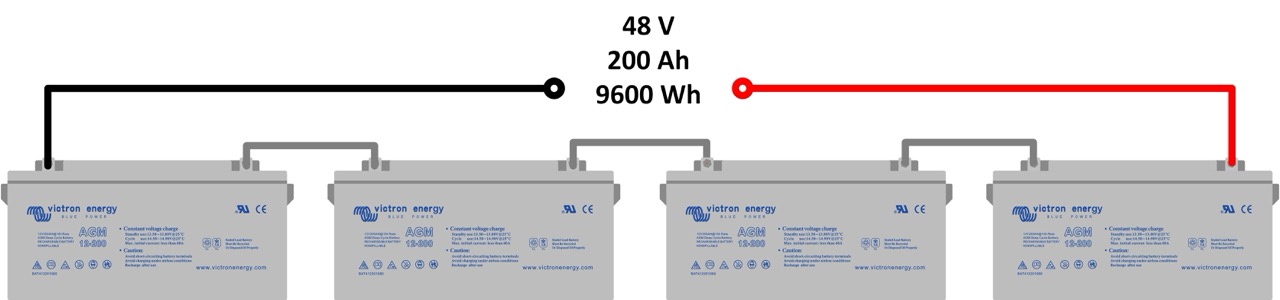
The choice depends on the required correct voltage (12V or 24V) and the higher power your boat needs. For boats with a lot of equipment or large systems, it may be necessary to connect multiple batteries in parallel to increase capacity without changing the voltage. The voltage generation requirement depends on the nature of the onboard domestic appliances.

Which types of domestic batteries are suitable for boats?
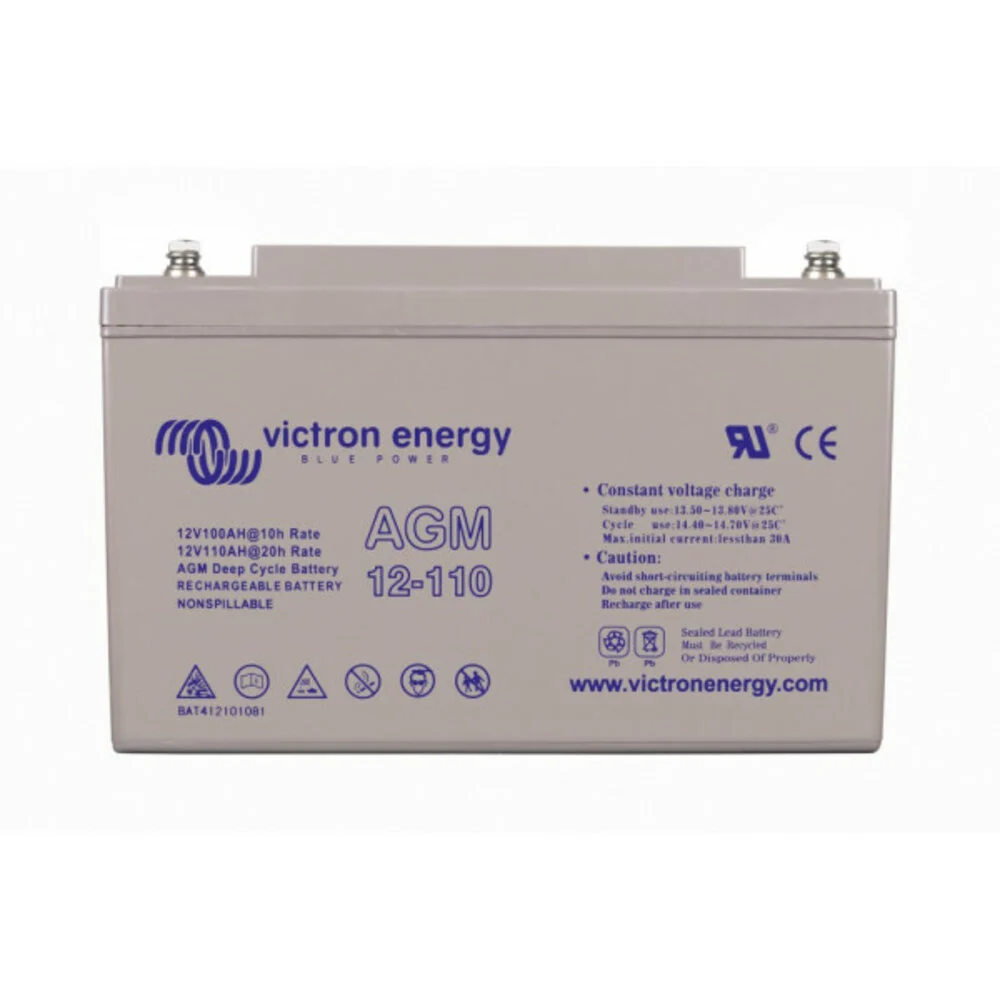
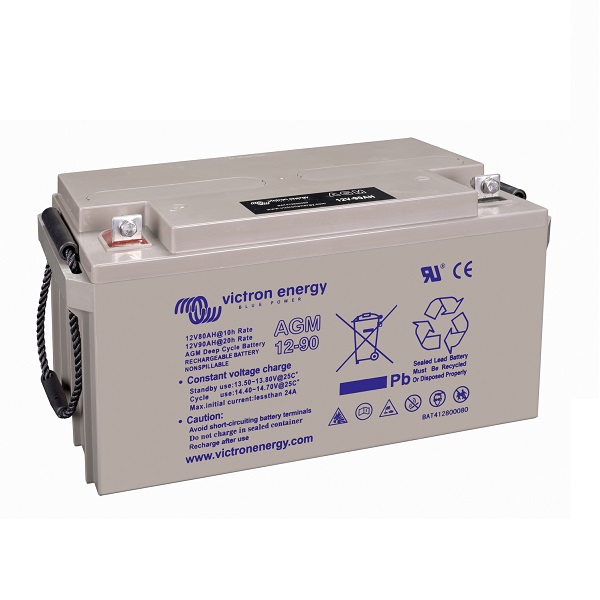
AGM battery
A popular choice for boats. In this type of lead-acid battery, the electrolyte is held in fibreglass mats, providing shock resistance and a longer lifespan. AGM batteries are maintenance-free and ideal for most marine applications.
Advantages: Maintenance-free, longer lifespan than standard lead-acid batteries.
Disadvantages: Higher price.
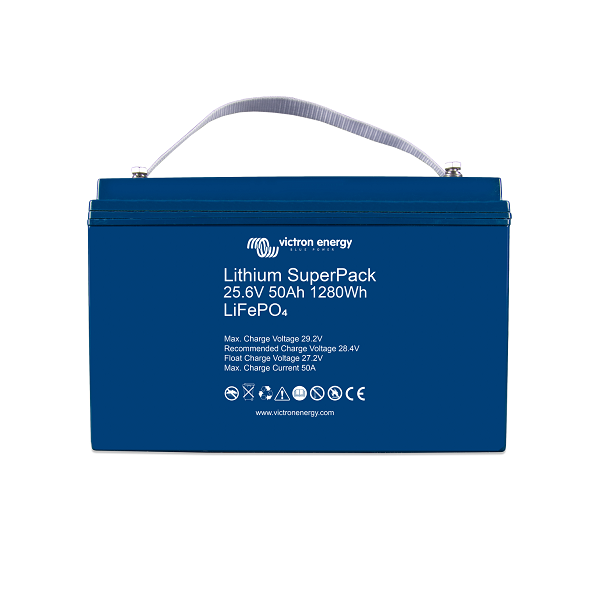
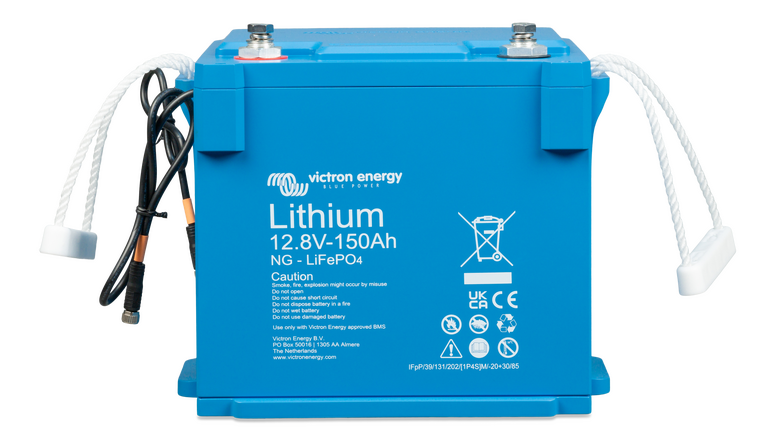
Lithium battery
Lithium batteries offer the latest technology and are very popular due to their high energy density and long lifespan. They are lightweight, have a short charging time, and can be deeply discharged without performance loss.
Advantages: Lightweight, compact, capacity increases without extra weight.
Disadvantages: Highest price, but a good long-term investment.
Lead-acid battery
A traditional option for boats. This type is reliable and relatively inexpensive, but requires regular maintenance, such as topping up fluids and cleaning the terminals.
Advantages: Affordable, widely available.
Disadvantages: Not maintenance-free, prone to damage if deeply discharged.
Gel battery
Gel batteries are primarily used in vehicles due to their shock resistance and maintenance-free properties. Gel batteries are also used in boats, but AGM batteries are often a better choice due to their versatility and performance in marine conditions.
Advantages: Maintenance-free, vibration-resistant, long lifespan.
Disadvantages: Higher price, less deep discharge than AGM batteries.
Why choose AB Marine Service batteries?
Expertise in boat batteries
At AB Marine Service, we understand that every boat has unique requirements for a domestic battery. Our specialists will be happy to advise you on the best battery for your specific type of boat, whether you have a small tender or a large yacht.
Wide range
We bieden een uitgebreid assortiment aan diverse soorten boot accu’s (Victron boat batteries), including gel batteries, AGM batteries, and the latest lithium batteries. Each battery in our range has been carefully selected for durability, reliability, and performance.
Quality and service
At AB Marine Service, we guarantee high-quality batteries with a long Service life. Furthermore, our batteries are designed for the demands of the water, including resistance to vibrations and delivering a constant voltage to all your equipment.
Practical tips for domestic batteries on boats
How many amps does your boat need?
Make a list of all the electrical equipment on board and calculate the total power consumption. This will give you a good idea of the battery capacity you will need.
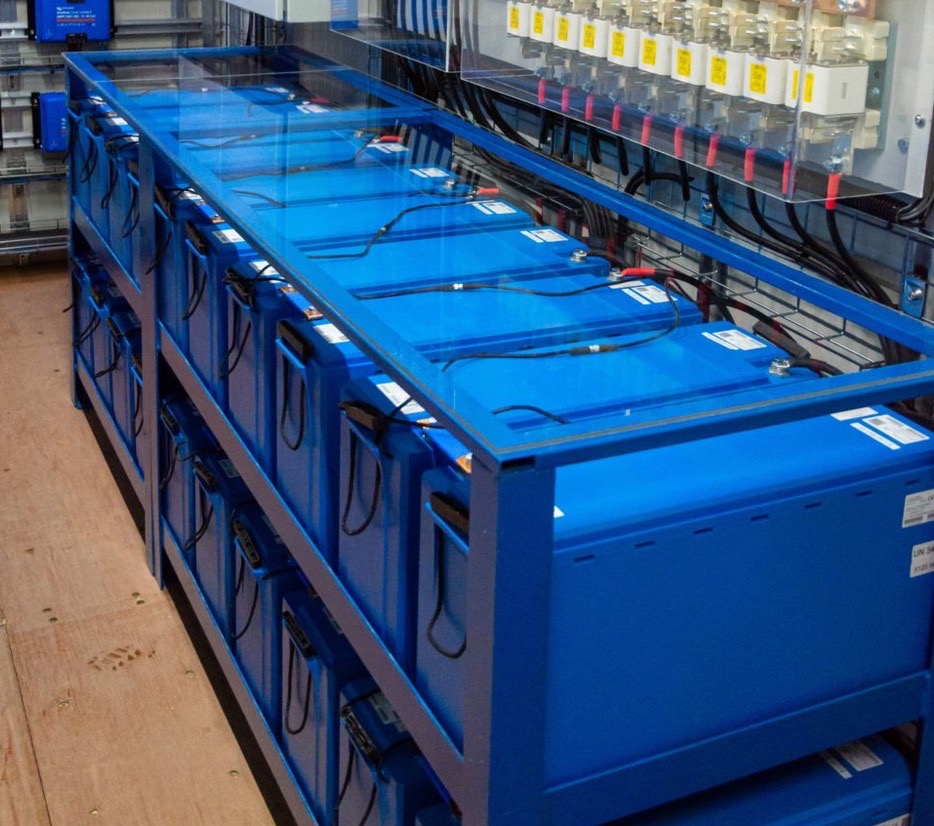
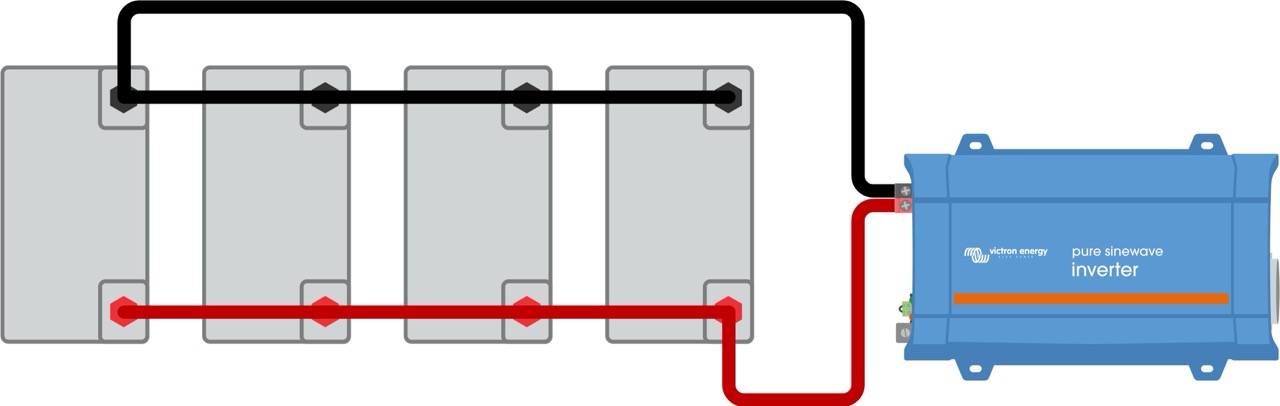
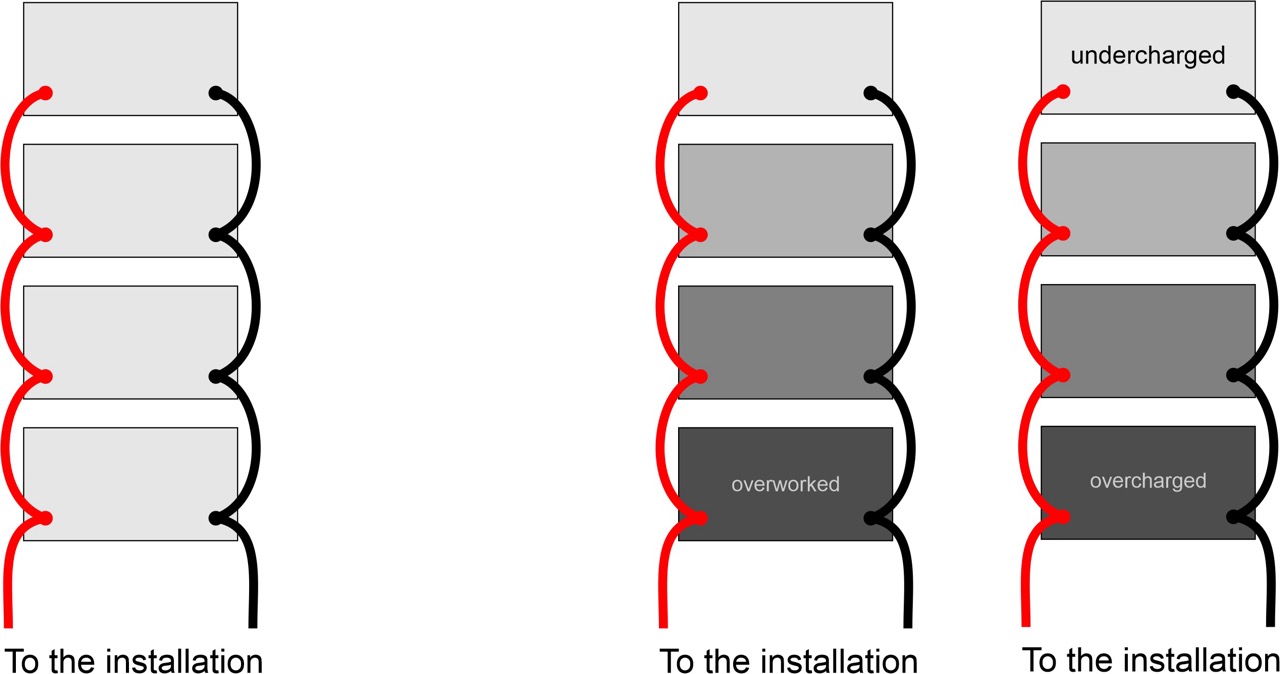
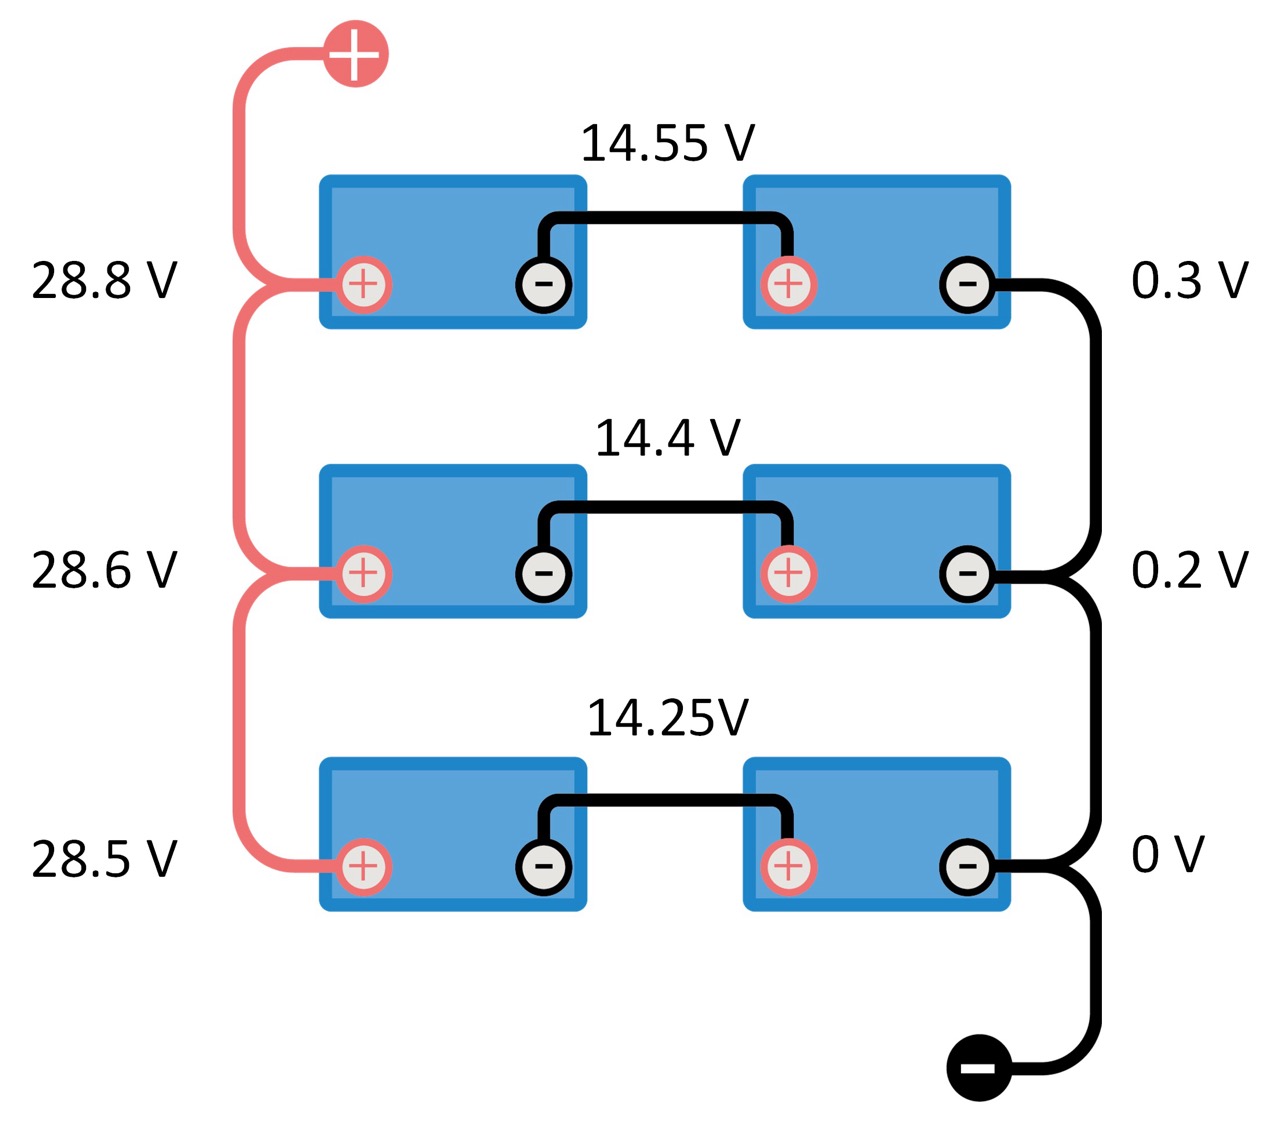
Connecting multiple batteries in parallel
On larger boats, it’s often useful to install multiple batteries in parallel to achieve the required capacity without affecting the voltage.
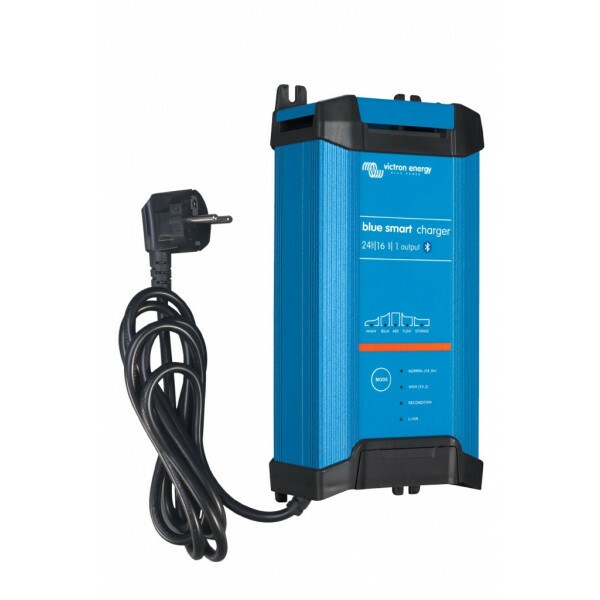
Use a good chargerr
Make sure your charger is suitable for the type of battery you choose. The wrong charger can significantly shorten your battery’s lifespan.
Fully charge the battery
Keep your battery in top condition by charging it fully on a regular basis. This will extend its lifespan and prevent problems when you head out on the water.
Replace your old battery in good time
An old battery that is no longer reliable can cause unexpected problems. Choose a new battery in good time to avoid running out of power.
Which battery will you choose?
When choosing a battery for your boat, it’s important to consider your specific needs, such as deep discharge, capacity, and the type of electrical equipment on board. AGM batteries are an excellent and affordable choice for most boats. They offer reliability, a longer lifespan, and are completely maintenance-free. Want to go a step further? Lithium batteries offer the latest technology and are ideal for those who want to get the most out of their equipment.
At AB Marine service, you’re guaranteed to find the right battery for your boat, along with professional advice and excellent service. Would you like to know more or buy a boat battery straight away? Get in touch with AB Marine service and we’ll be happy to help!