A diesel engine on your boat is reliable but can cut out if air gets into the fuel system. This can happen after replacing the fuel filter, when the fuel tank runs dry, or due to a leak in the supply line.
In this blog, you’ll learn step-by-step how to correctly bleed a diesel engine on a boat, so you can get back on the water without a care in no time. A well-maintained fuel system prevents starting problems and extends the lifespan of your engine block.
What you need to bleed a diesel engine
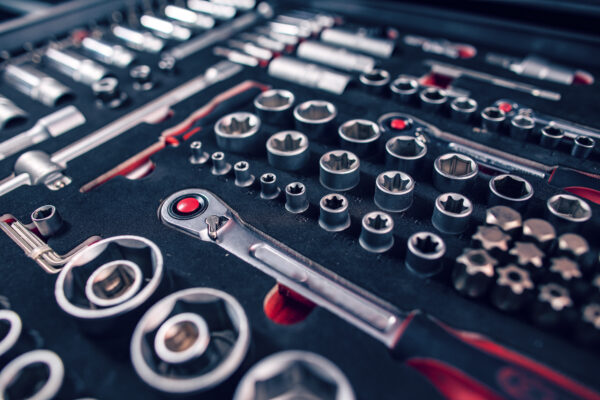
To successfully bleed your diesel engine, you’ll need a number of tools and materials. Here’s a list.
- Spanner or ring spanner (usually 10 or 12 mm, to fit the bleed screw).
- Rag to catch any spilled diesel.
- Drip tray for fuel.
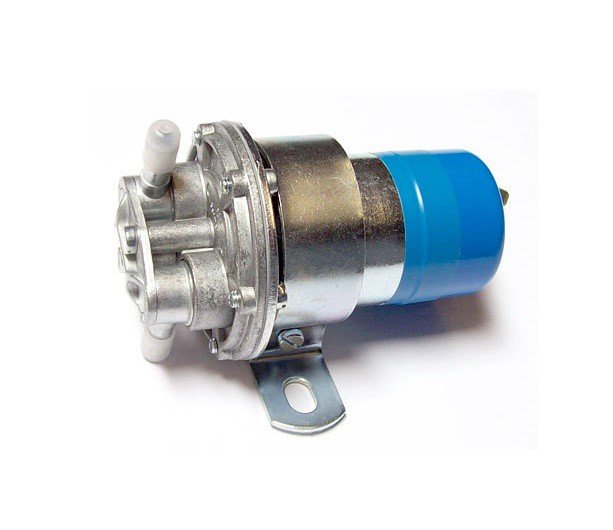
- Manual or electric fuel pump.
- Sufficient extra diesel to refill the system.
- Screwdriver for any hose clamps.
- Torch to better see poorly lit areas.
- Kitchen roll or absorbent cloths for extra cleaning.
Having the right tools will save you time and prevent frustration during bleeding. Also, make sure you’re working in a well-ventilated area so you don’t inhale too many fumes.
A handy step-by-step guide: bleeding a diesel engine
You can easily bleed a diesel fuel system yourself. Follow the steps below carefully to remove air from the fuel system.
Step 1: Check the fuel supply
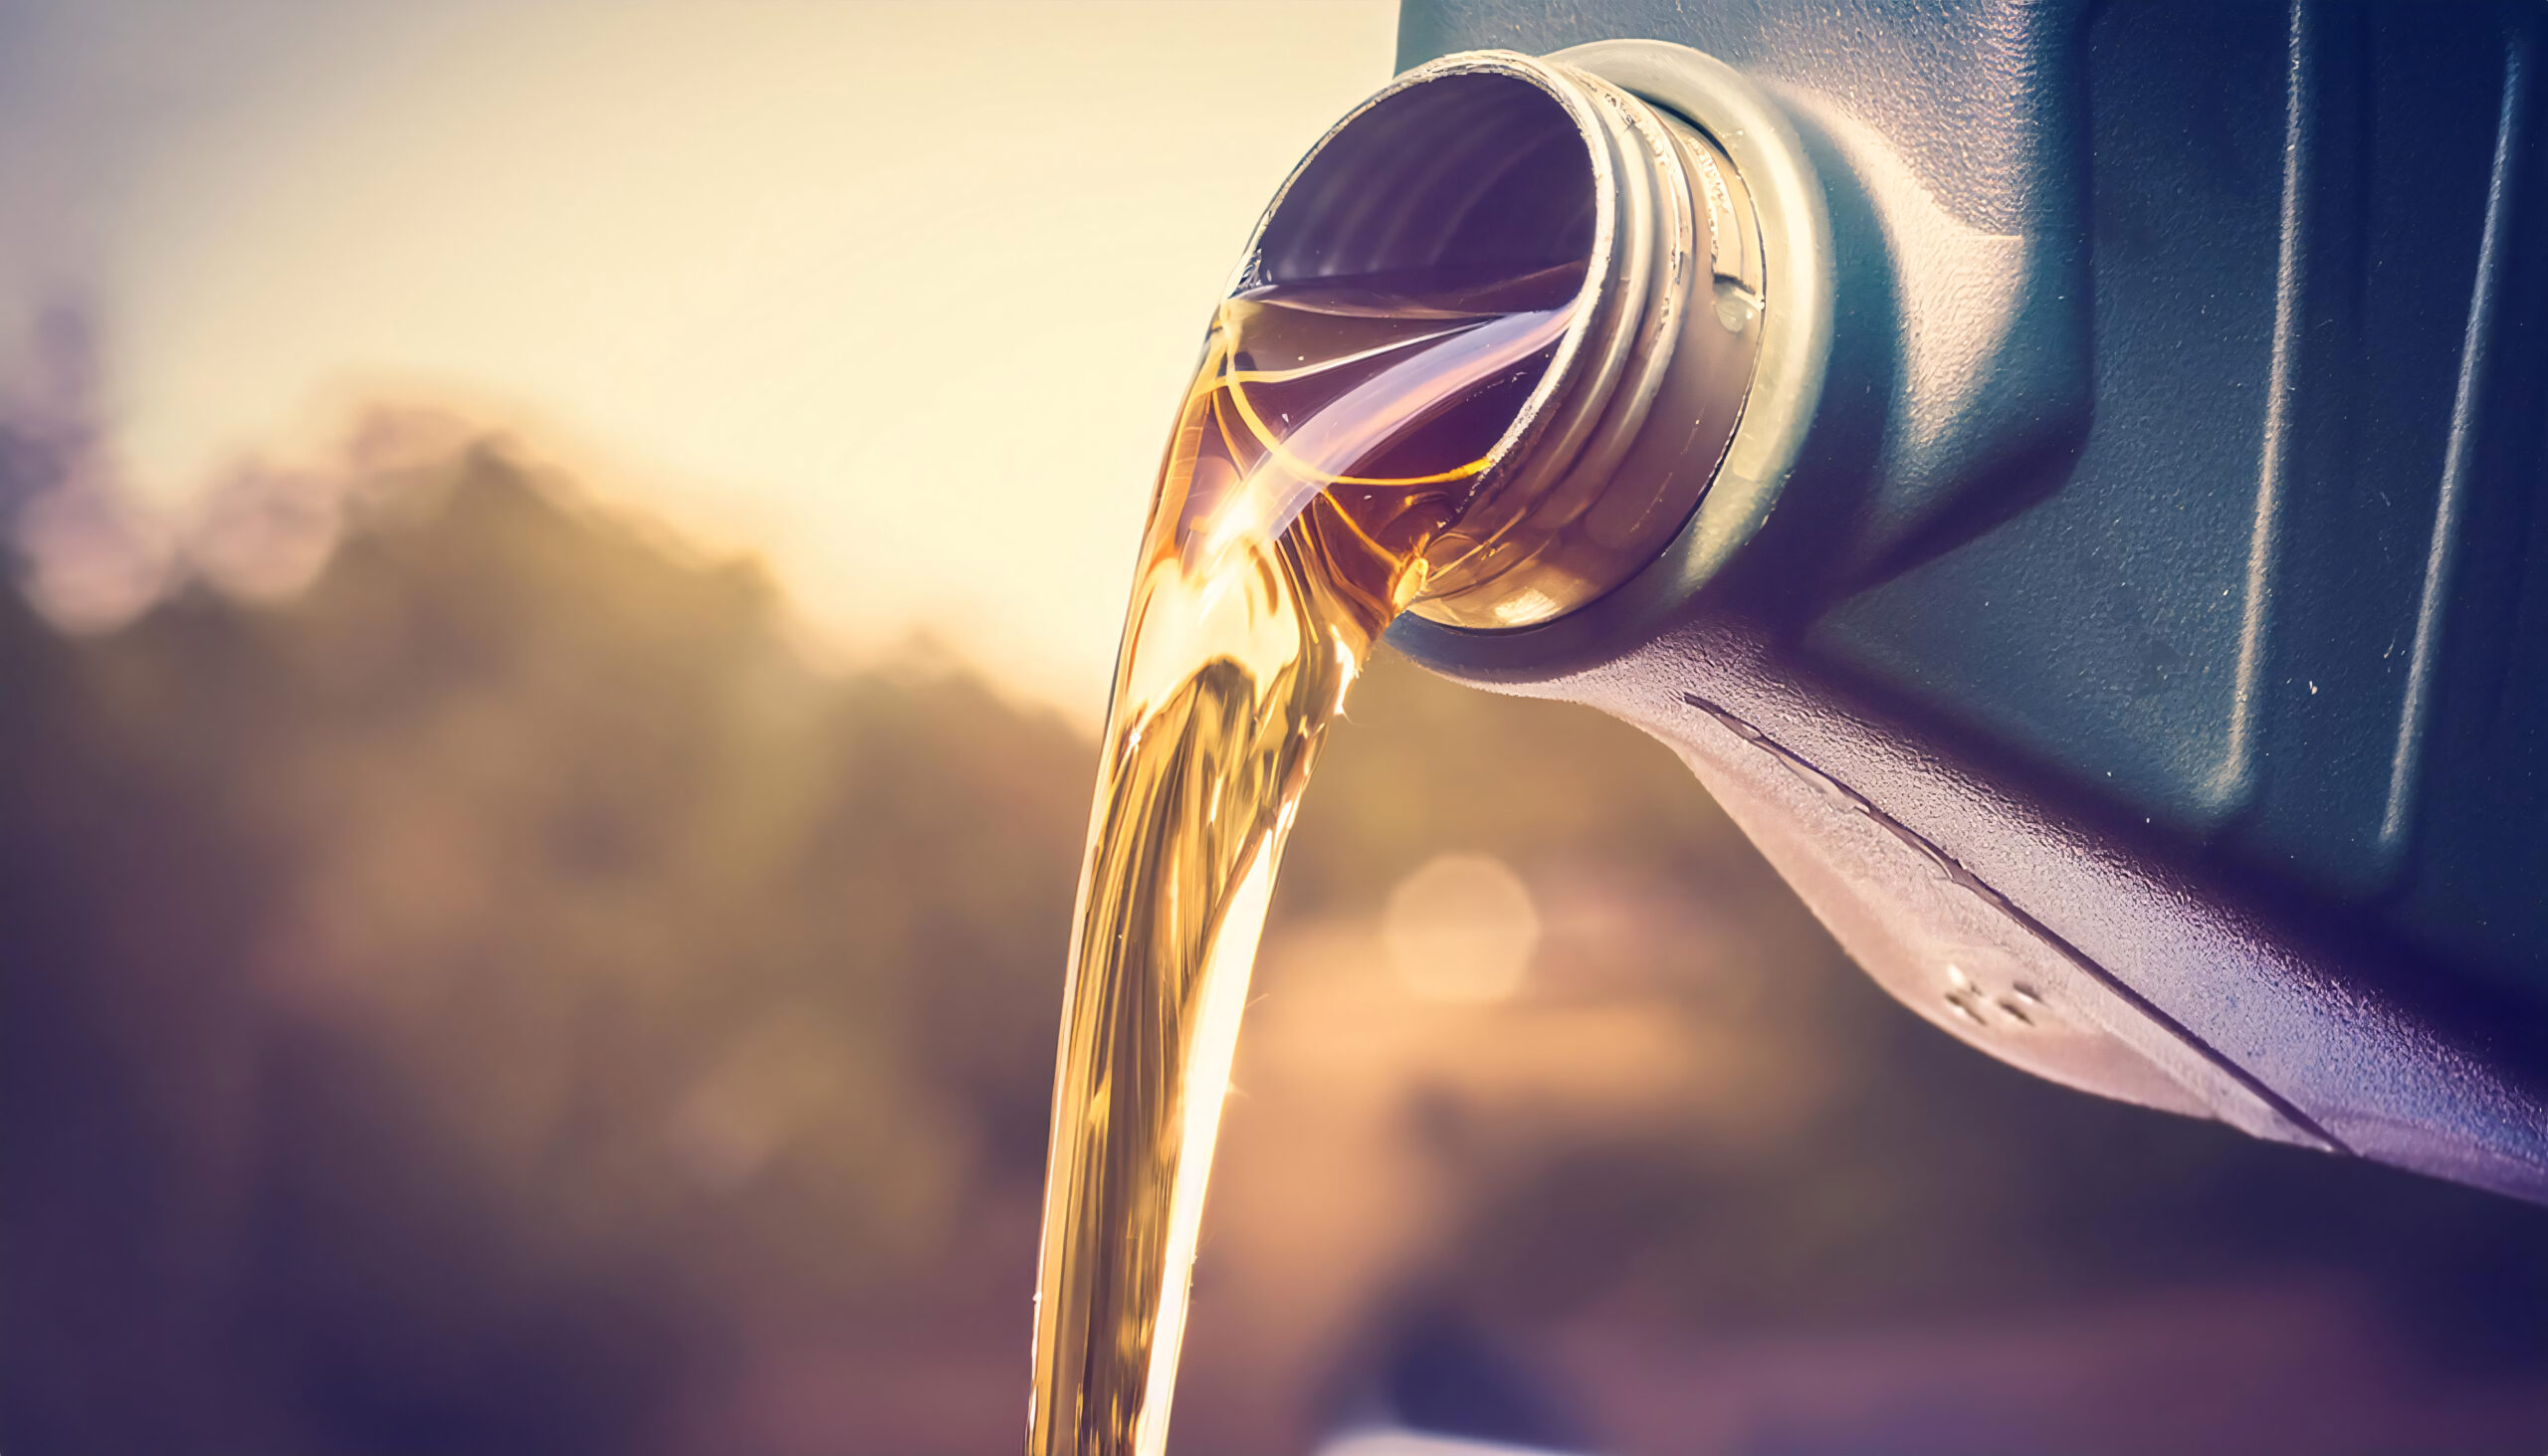
Check that there’s enough diesel in the tank. Has the tank run completely dry? If so, refill it first and wait a few minutes to allow the pipes to partially fill. Bleeding the system is pointless if there’s no fuel available.
Additionally, it’s wise to check that the diesel is clean. Contaminants like water, dirt, or bacterial growth can block fuel lines and filters. You can check this by collecting some diesel from the line or fuel filter into a clear container. Do you see cloudiness, water droplets, or dirt? If so, it’s advisable to replace the fuel filter first to prevent blockages from causing problems later on.
Step 2: Open the bleed screws
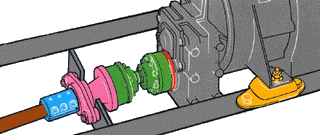
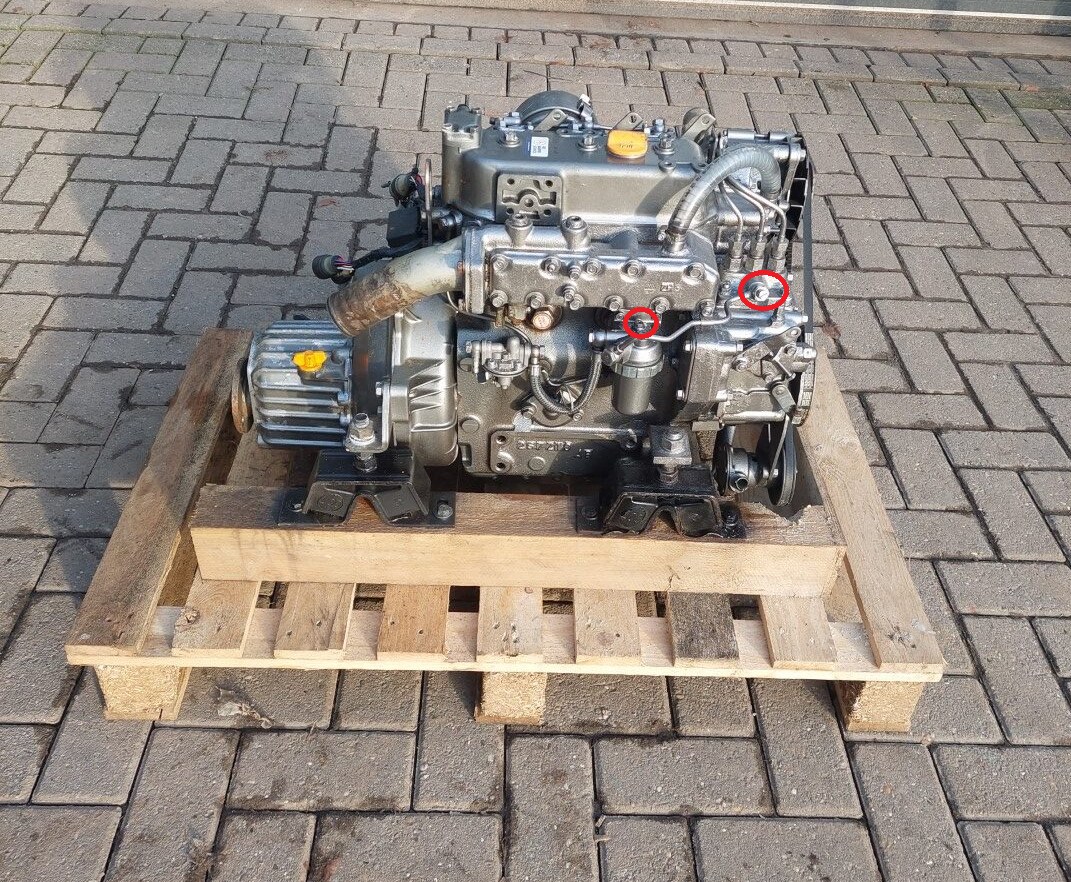
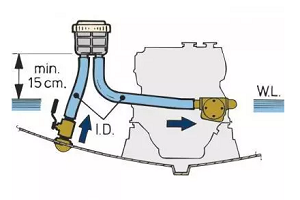
Locate the bleed screws on the fuel pump, filter housing, and injectors. These screws are specifically designed to allow air to escape from the fuel system. Depending on your engine, there may be one or more bleed screws. If necessary, consult your engine’s manual to find their exact locations.
Use a spanner to gently loosen the screws. Usually, start at the fuel filter and work towards the injectors. Be careful not to remove the screws completely; they only need to be opened enough for air to escape. It’s useful to place a rag under the screws to catch any spilled diesel and prevent soiling the underside of your engine bay.
Step 3: Use the priming pump
With many older engines, you’ll have a manual feed pump to push fuel through the system. Operate the pump a few times until diesel flows from the bleed points without air bubbles. This may take a little while, depending on how much air is in the system.
Keep pumping until a steady stream of fuel is visible and check for any fuel leaks at the connections. If you see diesel leaking anywhere, carefully tighten the connections slightly and check again.
Step 4: Start the electric fuel pump (if fitted)
Some engines have an electric fuel pump that primes automatically. In this case, you just need to turn the ignition on and off a few times to fill the system. If in doubt, consult your engine’s manual.
With engines that have an electric fuel pump, this helps to automatically prime the system. Turn on the ignition and let the pump run until no more air is escaping. This process can take a few seconds to a couple of minutes, depending on the length of the fuel lines and the amount of air in the system.
During this process, check for a clear audible difference in the pump’s sound. Initially, the pump might sound gurgling or noisy as air is pumped through the system. As the lines fill up, the sound will become more regular and quieter. This is a sign that the air has been effectively purged from the system.
Some electric pumps switch off automatically as soon as the system is completely filled. If your pump continues to run with an irregular sound or doesn’t draw in diesel, check that there are no blockages or leaks in the fuel lines.
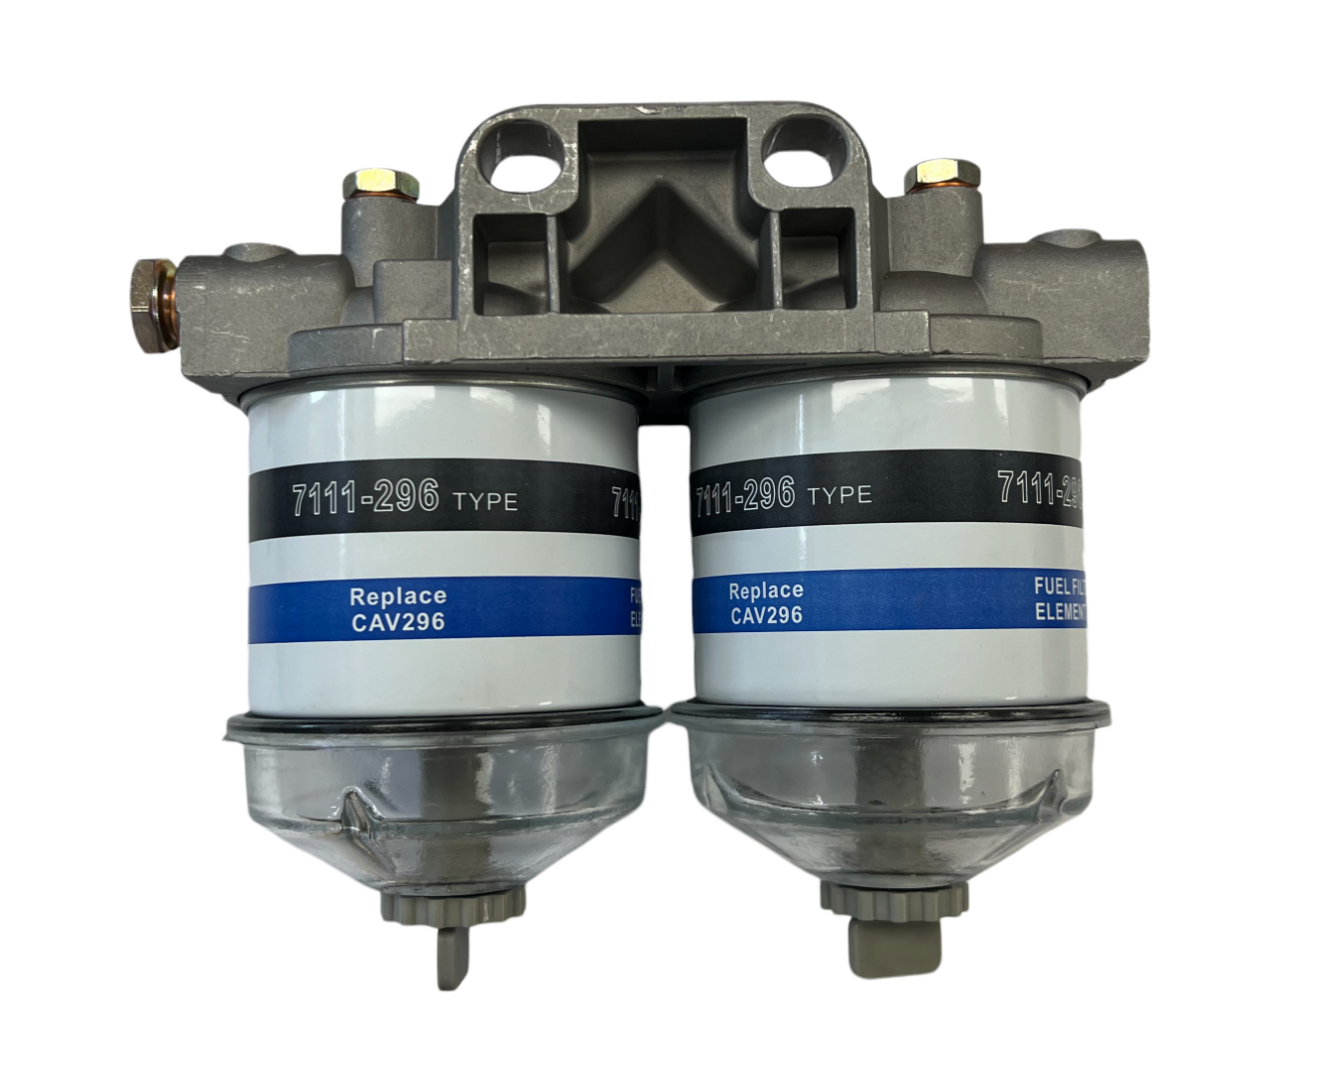
Step 5: Bleed the fine filter and pre-filter
To remove all air from the fuel system, you need to bleed both the fine filter and the pre-filter. This will prevent air bubbles from remaining in the fuel lines, which can cause engine issues.
Locate the bleed screws on the filter housing and the pre-filter. Carefully loosen these with a spanner and wait until a constant stream of diesel without air bubbles emerges. Some systems have a small hand pump on the filter housing to speed up the process. If yours has one, pump it a few times while the screws are open.
Next, securely tighten the bolts again, but not too much. Use finger-tight plus a little extra with the wrench to avoid damaging the threads.
Finally, check the condition of the filters. If the fuel coming out is cloudy, dark, or dirty, it might be wise to replace the filter before proceeding.
Step 6: Bleed the injectorss
If the engine still doesn’t start after bleeding the filters, there may still be air in the lines between the high-pressure pump and the injectors. In this case, it is necessary to bleed the injectors manually. Loosen the fuel lines at the injectors by half a turn using an open-ended spanner. Make sure you have a rag ready to catch any spilled fuel.
Start the engine and let it run briefly. As soon as you see diesel without air bubbles coming from the pipes, tighten them one by one again firmly. Note: Do not overtighten them; hand-tight + a little extra is sufficient.
Let the engine idle for a few minutes after bleeding. This ensures any remaining air bubbles leave the system, and the engine runs smoothly again.
Step 7: Check for leaks
Now that the fuel system has been bled, it’s important to check all bolts and connections for leaks. Even a small leak can cause air to re-enter the system, leading to starting problems or a poorly running engine.
Start the cold engine and let it idle. Using a torch, check for any diesel leaks around the fuel filters, feed pump, fuel lines, and injectors. A dripping or damp connection indicates a fitting isn’t sealed properly. Gently tighten it slightly but be careful not to overtighten the bolts.
Also inspect the fuel hoses for cracks, brittleness, or wear. A worn hose can not only cause leaks but also suck in air, which undoes bleeding the system.
By following these steps, you’ll ensure your diesel engine is properly bled, allowing you to continue your voyage without issue. Any questions? Get in touch with us. We’re happy to help!
Common mistakes and how to avoid them
1. Not bleeding completely
Air can accumulate in various parts of the fuel system. Always bleed all relevant components: feed pump, filter housing, and injectors. Even a small amount of air can cause the engine to run poorly or not start. Therefore, work systematically and do not skip any steps.
2. Not checking the fuel tank
An almost empty diesel tank can draw air back into the system. Always ensure you have sufficient fuel. Also, check the tank for dirt and water, as these impurities can cause serious damage to the fuel system. Consider installing a water separator to protect your engine from moisture issues.
3. Improper operation of the feed pumpn
With a manual priming pump, you often need to operate the lever firmly several times to build up sufficient pressure. If you don’t operate the pump correctly, air can remain in the system, leading to starting problems. Take your time to pump thoroughly and listen carefully to the sound of the fuel flow.
4. Not tightening bleed screws properly
If the bolts aren’t properly tightened, air can get in, causing the engine to run poorly or not start at all. Check all the bolts and tighten them firmly but be careful not to overtighten them to avoid damaging the threads. Use a torque wrench if necessary to maintain the correct tension.
5. Ignoring a clogged fuel filtern
A blocked filter can impede the fuel supply. Check and replace fuel filters regularly to prevent problems. If you notice the fuel is dark or cloudy, it could indicate contamination or bacterial growth in the tank. Consider cleaning your tank periodically and use a fuel additive to combat bacterial formation.
Buy your technical parts from AB Marine Servicee
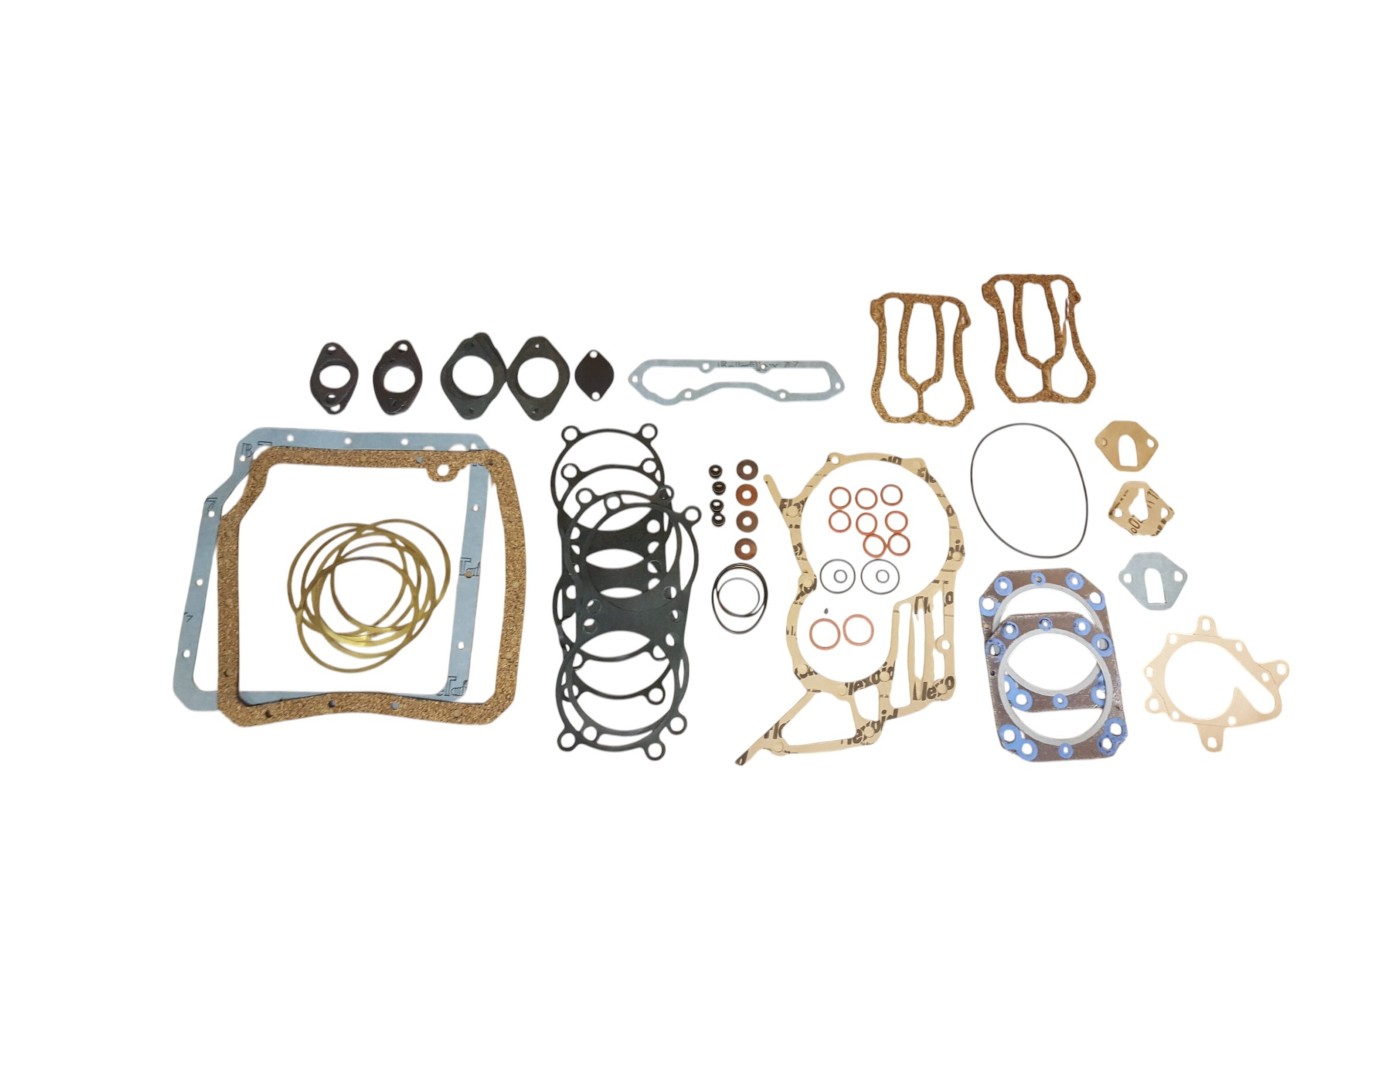
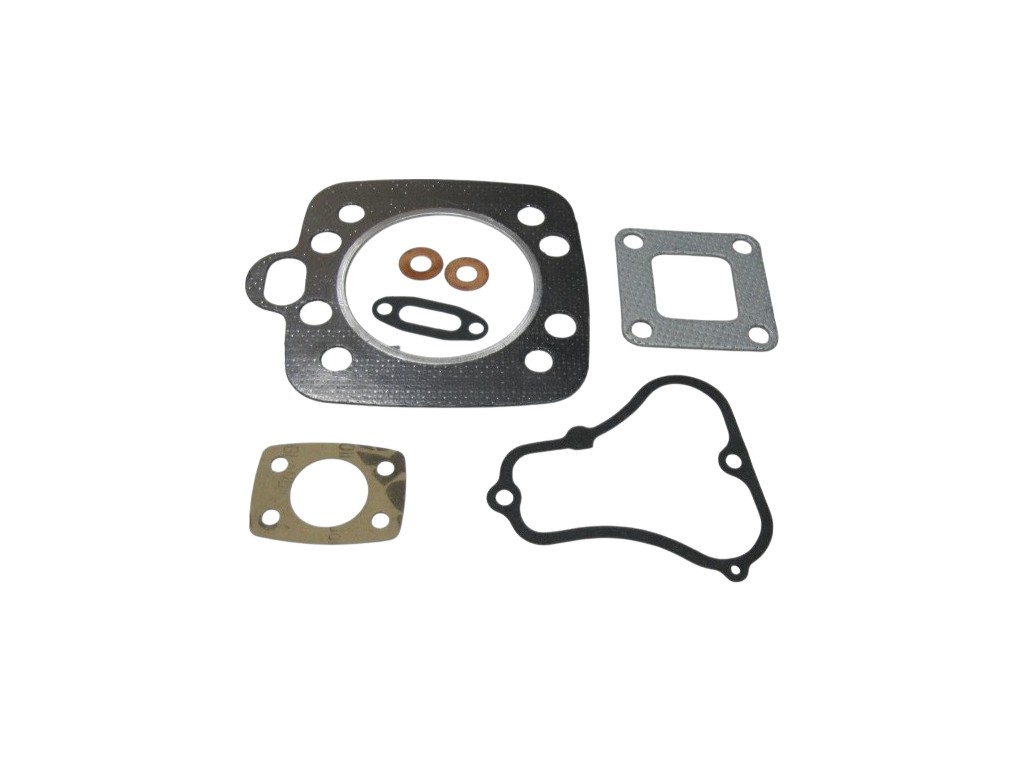
At AB Marine Service, you’ll find a wide range of parts for your inboard diesel engine. From fuel filters and feed pumps to complete fuel systems, we have everything you need to keep your engine running smoothly. Our experts are happy to help you with expert advice and practical tips to keep your engine in top condition. Order easily online or contact us for more information.

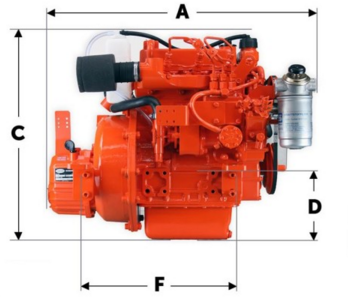
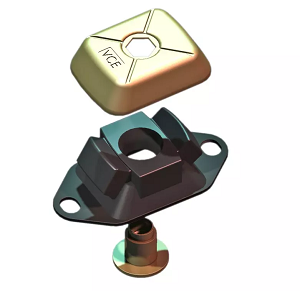

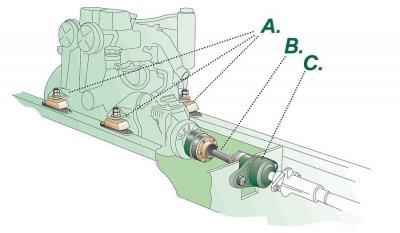 So what is the optimal engine mount?