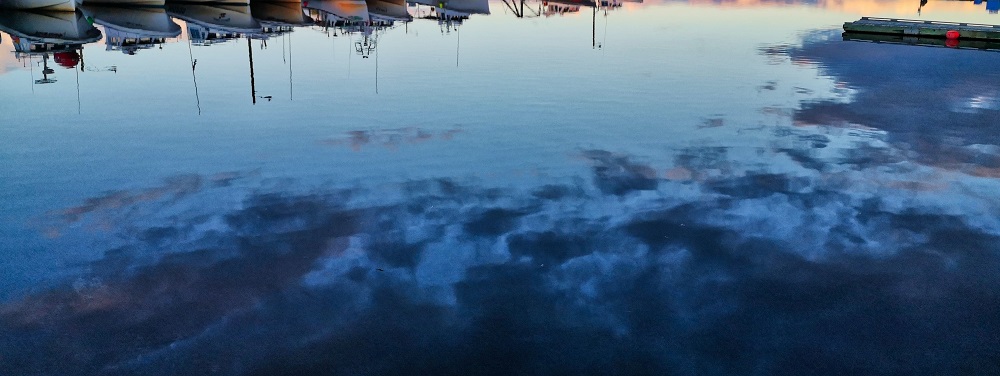
Getting your boat ready for winter is always important, whether you’re keeping it in the water or storing it ashore. With AB Marine Service’s winter Check, you can be sure your boat is fully prepared for winter and you’ll be back out on the water enjoying it again sooner when the boating season starts. You get your boat ready when you’re no longer going to use it this season. Exactly when this is will, of course, vary from person to person. Most boat owners get their boats winter-ready in October. Getting your boat ready for winter consists of 6 steps. In this article, you’ll find the 6 steps to get your boat winter-ready, the necessary products, and all the information in pdf format so you can easily save it.
- The engine
- Technical parts
- Water supply
- The hull and the deck
- Sailing boat
- Equipment
- Required products
- Download the manual
1. The engine
At the end of the boating season, it’s crucial to winterise your boat’s engine. Don’t skip this step, as your engine could otherwise suffer significant damage. To begin, it’s important to know whether your boat has an open or closed cooling system. A closed cooling system is filled with coolant. Not much can go wrong with this system. Do you have an open cooling system? In this case, water from the waterway is used to cool the engine. Absolutely no water must remain in the engine over winter. Follow the next steps to get your engine winter-ready.
SUPPLIES:
- Antifreeze
-
Product on sale
 Antifreeze | Special offer environmentally friendly -45 Non Toxic winterizingOriginal price was: €27,95.€22,95Current price is: €22,95.
DURATION:
Average 15 minutes
STEP 1:
Close the water inlet valve. Do you not have a draining valve? If not, make sure to blow the water out of the valve before closing it. A valve with water in the ball will otherwise still break.
STEP 2:
Unscrew the weed filter.
STEP 3:
Ensure there is absolutely no water left in the engine. Look in the manual for the drain points. These points are often found on the side of the engine and underneath the manifolds.
STEP 4:
Is all the water out of the system? If so, you can proceed to the next step. You can optionally blow out the system with compressed air first before continuing.
STEP 5:
Run the engine while you slowly pour antifreeze into the weed filter, or place the supply hose into the jerrycan with antifreeze and then start the engine. Switch off the engine when antifreeze starts flowing from the exhaust of the cooling water system and catch the liquid in a bucket. Do not let it enter the waterway, as antifreeze is very harmful to the environment. Alternatively, use our biodegradable antifreeze.
STEP 6:
For boats that remain in the water over winter, the valve must also be filled with antifreeze. You can do this by filling the weed filter with antifreeze and opening and closing the inlet valve once, so that antifreeze seeps into the ball valve. Or even better, blow air into it and seal the valve under pressure so that only air is present.
And note, for boats that are ashore, keep the valve open to drain all water from the ball valve!
STEP 7:
Change the engine oil and replace the oil filter and the fuel filter. Diesel and fuel attract water. After the sailing season, it is advisable to replace these with new oil and filters to drain moisture in advance. New oil also protects the engine better due to the various additives.
2. Technical parts
After winterising the engine, it’s time for the technical aspects. During this step, we’ll cover the gas and electrical supplies, and the technical components.
SUPPLIES:
- Grease for lubricating parts
- Cleaning supplies and bucket
- Anti-corrosion spray (multi-purpose spray)
-
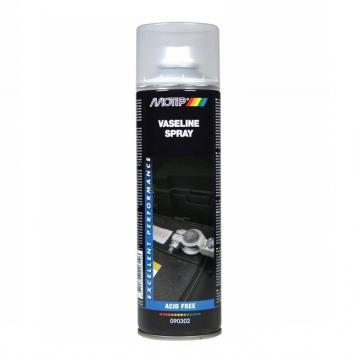 Vaseline Spray l Universal lubricant and protection agent 500ml€17,95
 -
Product on sale
 Multispray l Lubricates, protects and cleans parts of metal and plastic 500mlOriginal price was: €15,95.€12,95Current price is: €12,95.
DURATION:
Average 1-3 hours
STEP 1:
Disconnect the gas bottles and store them somewhere off the boat, for example at home. It’s best to store the bottles in a dry, well-ventilated place. Check the gas hoses and connections and replace them in good time. Any sign of wear means the parts need replacing to prevent accidents. Have gas hoses replaced by an authorised specialist (at least every three years).
STEP 2:
When batteries discharge, the acid is drawn into the plates. In winter, this can freeze. It is advisable to keep batteries fully charged. For example, you could opt to charge batteries occasionally with a trickle charger. You can also remove the batteries from board and store them in a dry place. It is still advisable to fully charge the batteries completely from time to time. Also check if the batteries need topping up with distilled water.
STEP 3:
Remove electrical equipment from board, as far as possible. Store the equipment in a dry and warm place. spray the exposed points and contact points on board with a moisture-repellent spray to prevent corrosion.
STEP 4:
Rotating parts such as the steering column, winches and gears must be checked. In addition, ensure that parts such as gears, the rudder tube and the propeller shaft are lubricated. During lubrication, force the water out so that it cannot freeze in the tube.
STEP 5:
Remove water from the bilge and clean the bilge thoroughly. Also, clean and dry the gas locker thoroughly.
STEP 6:
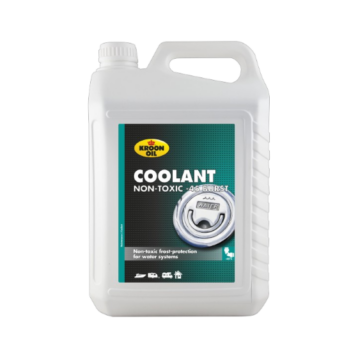
Check the level and condition of the coolant using our Glycol meter. Remove the impeller during the winter period so that it does not deform in the same position. Store the impeller in a dark place (the rubber is not UV resistant). Tension or replace the V-belt. Replace the coolant approximately every three years or if it is dirty and the frost resistance is too low (-25 degrees is the limit).
3. Water supply
Now that the technical parts are ready for winter, we’ll move on to the water supply. Think about the toilet and the tap. Be aware that you must use a non-toxic antifreeze! The antifreeze used for cars is often toxic and therefore cannot be used now. Non-toxic antifreeze is better for the environment, but also for the pump’s rubber seals. Regular coolant will damage these. Please note: it’s not enough to pump your toilet dry, as residual water can remain in bends and corners.
SUPPLIES:
- Non-toxic antifreeze
- Cleaning supplies
- Sponge
- Optional: lubricant for the valves e.g. petroleum jelly or multi-spray
DURATION:
Average 30 minutes to 2 hours
STEP 1:
Close the skin fitting and disconnect the hose from the toilet’s water inlet. Hang the hose in the jerrycan with antifreeze. Pump the antifreeze through the toilet and close.
STEP 2:
Empty the fresh water tank completely. The last bit of water in the tank can be removed via the inspection hatch with a sponge, or hire a wet vacuum cleaner connected to the drain point, then turn on the taps one by one. Clean the tank. No water should remain in the hoses and water pumps. Don’t forget the outside shower and tap.
STEP 3:
Drain the water heater. Do you have an electric water heater? If so, disconnect the power first. To ensure all water is out of the system, disconnect the top hose from the water heater (hot water) and blow compressed air through the system. By opening each tap one by one, you will blow out all remaining water. Be careful not to build up too much pressure in the system; always keep a tap open.
STEP 4:
Fill all remaining valves with antifreeze. To do this, pour antifreeze into the supply point or hose and open the valve once so that antifreeze remains in the ball.
STEP 5:
Is your boat ashore? If so, drain the water from the valves and then close them. Cold and moisture can enter through open valves. It is advisable to lubricate the valves to prevent corrosion.
We’re halfway there!
Time to get the outside of your vessel shipshape for winter.
4. The hull and the deck
The inside of your ship is all ready for winter. Time to make the outside of your boat ready for winter.
SUPPLIES:
- Cleaning supplies
- Wax (optional)
- Paint (optional)
- Grease for rubber
- Antifouling (optional)
- Boat cover
DURATION:
Average 1-3 hours
STEP 1:
Thoroughly clean the hull and the deck. If dirt remains on your boat during winter, it can become even more embedded. Also clean components such as fenders.
STEP 2:
Is your boat made of polyester? If so, apply a coat of wax. Polish the wax off in the spring.
STEP 3:
Does your boat have any bare patches? Treat any areas on the boat where the paint has worn away to protect them.
STEP 4:
To prevent rubber from cracking, lubricate all window and hatch rubbers with petroleum jelly spray.
STEP 5:
Leave internal hatches and lockers open for ventilation to prevent mould.
STEP 6:
Examine the underside of your boat. Can it last another year or does it need attention? If the underside of the boat requires treatment, you can apply antifouling paint.
STEP 7:
Protect your boat with a cover if you have one. A cover helps prevent frost damage.
STEP 8:
Secure everything properly! It can get quite windy in winter, and ropes and covers can flap about, quickly causing wear and tear or damage.
5. Sailboat
Are you preparing your sailboat for winter? Then there are some extra parts to consider.
SUPPLIES:
- Cleaning supplies
- Lubricant for roller systems
DURATION:
Average 30 minutes to 1.5 hours
STEP 1:
Remove the sails and running rigging (ropes and wire) and store them in a dry place.
STEP 2:
Grease the furling systems for the jib or mainsail.
STEP 3:
Inspect the standing rigging. Is everything still intact? Are there any burrs or kinks? Are all split pins present and in good condition?
STEP 4:
Clean all blocks and sheaves.
6. Equipment
In the final step of the checklist, you clean the equipment and prevent further damage from cold and damp.
SUPPLIES:
- Cleaning supplies
- Lubricant for roller systems
DURATION:
Between 30 minutes and 3 hours
STEP 1:
Remove all cushions, clean the cushion covers (if possible in the washing machine) and store them in a dry place.
STEP 2:
Thoroughly clean the boat. Remove all food and perishable items from board. Bottles or cans of drinks can also
STEP 3:
Remove other items that are not resistant to moisture and/or cold.
STEP 4:
Remove clothing and life jackets from the vessel. Check that the life jackets are still in good condition and replace if necessary.
STEP 5:
Check the fire extinguishers and have them inspected if necessary.
STEP 6:
Place moisture absorbers in all areas of the boat to prevent dampness.
7. Recommended products for preparing your boat for winter
-
Product on sale
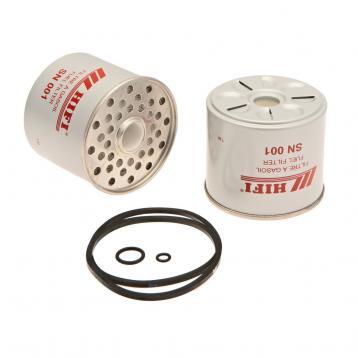
 Delphi CAV type fuel filter – Delphi HDF296Original price was: €8,95.€7,95Current price is: €7,95.
 -
Product on sale10x Fuel filter Delphi HDF296Original price was: €37,95.€30,95Current price is: €30,95.
-
Product on sale
 10x fuel filter Delphi HDF296Original price was: €57,95.€49,95Current price is: €49,95.
 -
Product on sale
 Delphi fuel filter – Delphi HDF296Original price was: €10,95.€9,95Current price is: €9,95.
 -
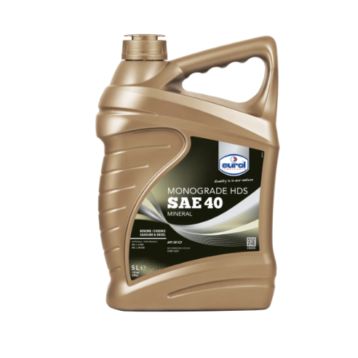 Eurol 5L Monograde HDS SF/CF SAE 40 API CF-2 (mineral)€61,95
 -
Product on sale
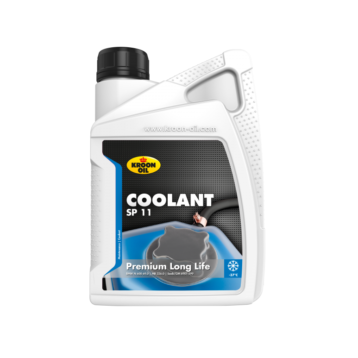 5L Coolant G11 for inboard engine Long lifeOriginal price was: €31,95.€26,95Current price is: €26,95.
 -
Product on sale
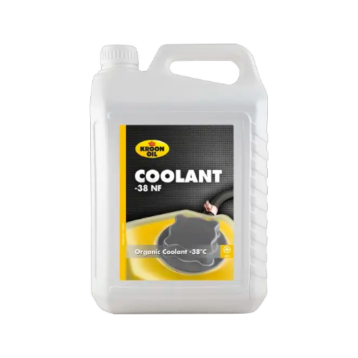 5L Coolant for Inboard Engine –38°C Organic NFOriginal price was: €22,95.€18,95Current price is: €18,95.
 -
Product on saleMultispray l Lubricates, protects and cleans parts of metal and plastic 500mlOriginal price was: €15,95.€12,95Current price is: €12,95.
-
Vaseline Spray l Universal lubricant and protection agent 500ml€17,95
-
Product on sale
 100x Fuel filter Delphi HDF296Original price was: €339,95.€279,95Current price is: €279,95.
8. Download the manual
You have completed all the steps to prepare your boat for winter. Please remember that the steps you follow will vary depending on your boat. Does your boat have any parts where water can remain, or where moisture and cold could cause damage? If so, ensure these parts are also prepared for winter.
Tip: It’s also worth popping down to your boat during the winter. For instance, check that the cover is still secure. It would be a shame to have gone to a lot of trouble preparing your boat for winter, only for it to suffer damage nonetheless.
We wish you the best of luck with preparing your boat for winter!