Brass is a versatile and popular material in the maritime sector and other industries. It is an alloy of copper and zinc. This unique combination offers numerous advantages such as good electrical conductivity, resistance to corrosion, and an attractive sheen. Over the years, brass has become a favourite for various applications, from decorative items and musical instruments to marine parts, plumbing fittings, and electronic components. However, brass also presents its challenges, especially in damp and salty environments.
Brass corrosion can have serious consequences for the safety and functionality of crucial components, such as skin fittings and seacocks. This blog tells you all about the properties of brass, the causes of corrosion, and how CR brass offers the definitive solution for durable and safe application in damp environments.
How does corrosion occur in brass?
Most metals are subject to corrosion, but in the case of brass, the process of dezincification plays a particularly significant role. Additionally, galvanic corrosion can occur, especially when brass is combined with other metals in a damp environment.
Dezincification: the hidden threat
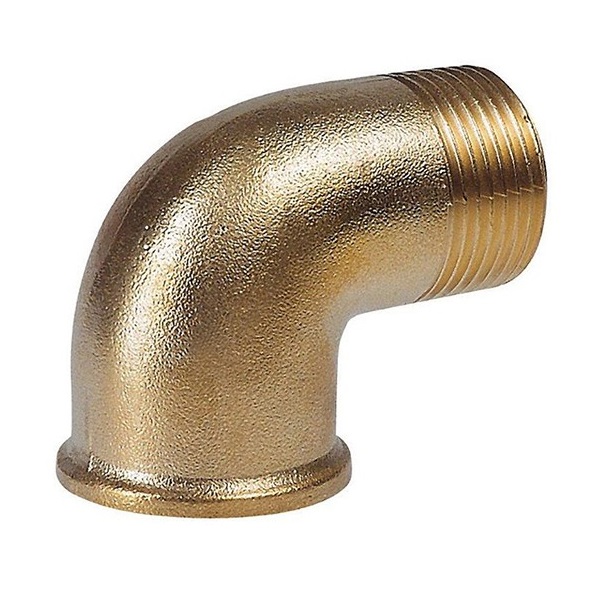
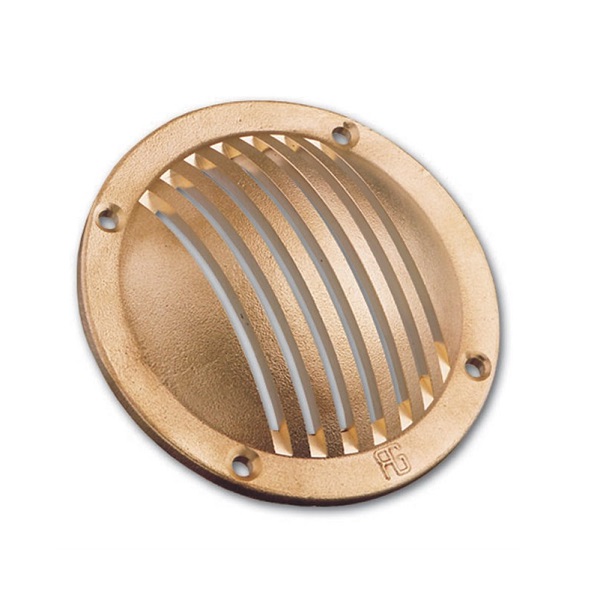
Dezincification occurs when the zinc content in brass is affected by a chemical reaction with water and oxygen. This process leaves behind a weak, porous material primarily composed of copper. Brass fittings, such as pipes, valves, and skin fittings that are constantly in contact with seawater, are susceptible to this form of corrosion.
- Key factor: The percentage of zinc in the alloy determines how quickly dezincification occurs. The higher the zinc content, the greater the risk.
- Damp environments: In saltwater, dezincification is accelerated, leading to structural weakness in parts that play a crucial role in the safety of your boat. This corrosive effect can be particularly severe below the waterline.
Galvanic corrosion: interaction between metals
Galvanic corrosion occurs when brass comes into contact with dissimilar metals, such as iron, nickel, or aluminium. In combination with seawater, which acts as an electrolyte, an electric current is generated that attacks the less noble metal in the combination.
How to recognise corrosion on your boat parts?
Spotting corrosion early is crucial to prevent damage and dangerous situations. Regular inspection and maintenance can significantly extend the lifespan of your boat parts.
Visual signs
- Discolouration: Brass can develop a green or white deposit due to oxidation. These are early signs of corrosion.
- Pitting: Small indentations on the surface indicate advanced galvanic corrosion and should be taken seriously.
- Loss of shine: Brass that loses its shine has often been exposed to damaging elements, such as salt and moisture.
Functional issues
- Reduced strength: Dezincification makes brass brittle, meaning it can no longer withstand loads.
- Leaks: Check through-hulls and shut-off valves for leaks, as these are often the first signs of corrosion.
By combining visual inspection and functional tests, you can identify problems early and limit damage. If you are using brass, these tests are very important.
CR-brass versus standard brass: what are the differences?
In marine applications, not all brass is created equal. The distinction between standard brass and CR brass (dezincification resistant brass) is of great importance, especially in sub-aquatic applications.
Standard brass
- Composition: Contains a high zinc content, making it more susceptible to dezincification.
- Applications: Standard brass is suitable for applications in less aggressive environments, such as freshwater areas or above the waterline. It is ideal for decorative applications, light loads, or parts that do not have constant exposure to moisture. Additionally, it is a cost-effective choice for situations where maximum durability is not required, such as temporary solutions or less critical components.
- Low hardness: Due to its relatively soft structure, standard brass is less suitable for load bearing.
CR-brass
- Dezincification-free: Due to the use of other alloying elements, such as manganese and a lower zinc component, CR brass is more resistant to corrosion.
- Higher strength: Ideal for applications where durability and safety are crucial, such as through-hulls and brass plates below the waterline.
Choosing the right type of brass is an important factor in ensuring the safety and performance of your boat.
CR-brass: the solution for below-waterline corrosion
For underwater applications, CR-brass is the best choice. This type of brass is designed to perform in the most challenging conditions, where standard brass would quickly fail.
Advantages of CR brass
- Corrosion resistance: Due to its unique composition, CR brass remains strong and durable, even in saltwater.
- Long service life: Thanks to its improved dezincification resistance, CR brass components have a significantly longer service life.
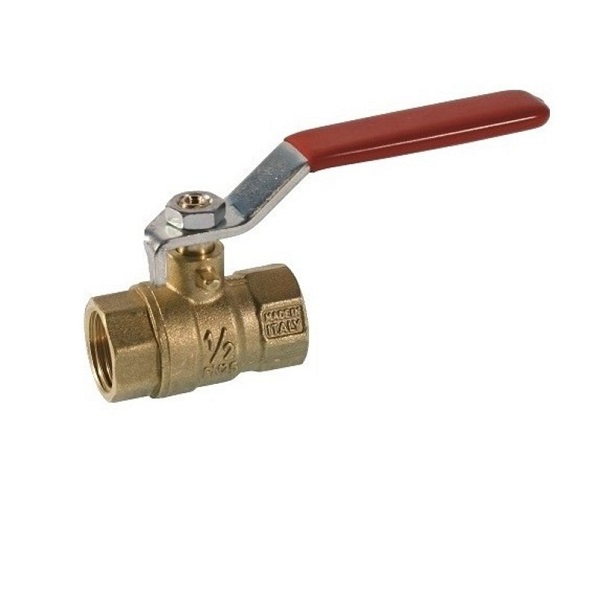
- Reliability: Ideal for critical components such as through-hulls, brass profiles, and valves.
By choosing CR brass, you’re investing in quality and safety. You’ll benefit from this product’s most notable properties: it’s dezincification-free, corrosion-resistant, and therefore reliable.
When to choose standard brass or CR brass?
Choosing between standard brass and CR brass depends on the specific application and the environmental factors the material will be exposed to.
Standard brass
- Dry or freshwater environments: Standard brass is suitable for above-waterline applications or in freshwater areas, where corrosion and dezincification are less likely to occur.
- Cost considerations: For less critical applications, standard brass is a cost-effective option.
- Light load: In situations where mechanical strength and durability are not crucial.
CR-brass
- Damp environments: For applications below the waterline or in other damp conditions, CR-brass offers better protection.
- Mechanical load: Use CR brass in parts where strength and durability are important, such as through-hulls and valves.
- Safety and reliability: For critical components where failure could have serious consequences, such as marine parts.
The importance of proper brass maintenance
Proper maintenance is important to extend the lifespan of brass parts. Here are some practical tips:
- Regular inspection: Check components such as hull fittings and valves for signs of corrosion.
- Polishing: Regular polishing, for example with a soft cloth, removes oxidation layers and preserves the aesthetic appeal of the material.
- Protective coatings: Use coatings to limit exposure to moisture and salt.
- Preventive replacement: Replace standard brass parts promptly with CR-brass if they are exposed to damp or salty environments.
With proper maintenance, brass remains a reliable and attractive material in a wide range of applications. This ensures you continue to benefit from its unique properties in various uses.
Buying brass from AB Marine Service
At AB Marine Service, we offer a comprehensive range of brass products, from brass rods and tubes to skin fittings and seacocks, available in both standard brass and CR-brass fittings. Our products are designed to withstand harsh conditions and provide a long service life.
With this extensive knowledge of brass and corrosion, you are now better equipped to make the right choices and protect your boat against the challenges of saltwater. Trust in quality, choose the right materials, and maintain your boat with the expertise of AB Marine Service. contact us to learn more about how we can assist you with your marine maintenance projects.