

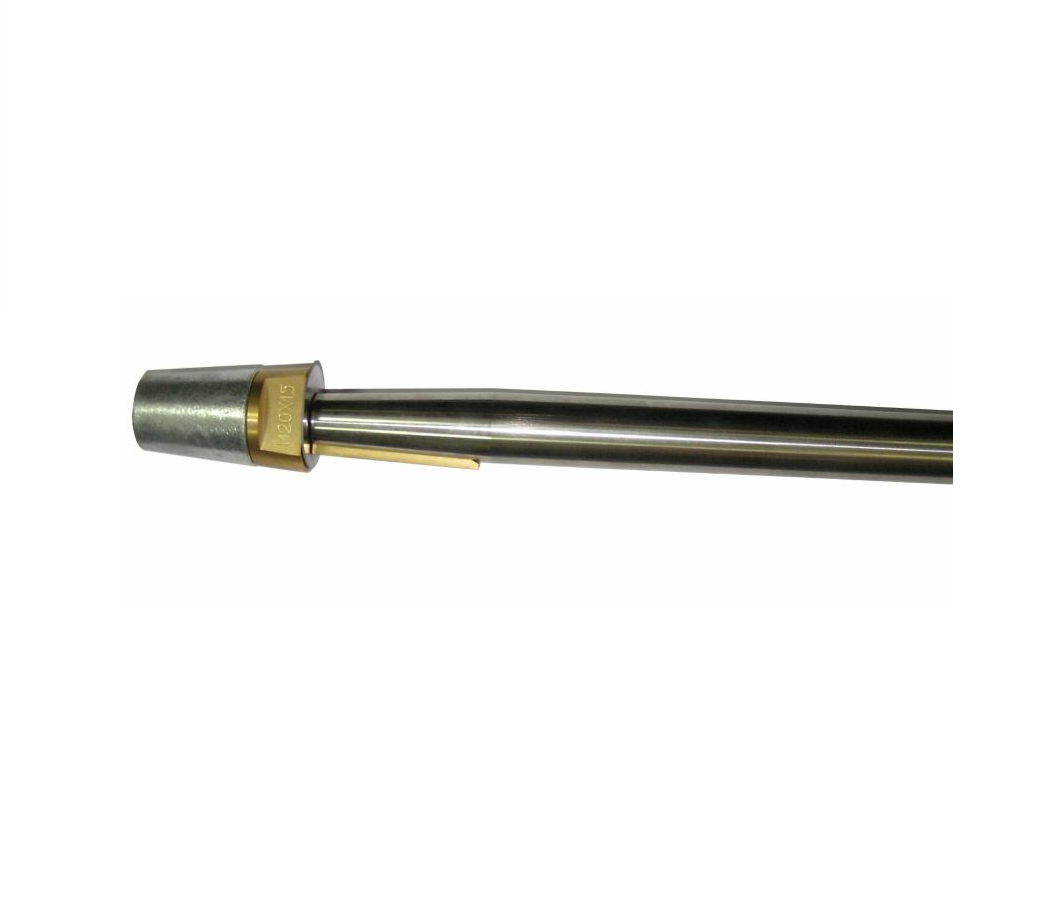
Do you feel a vibration that appears at a certain engine speed and then disappears above it? Or is your stuffing box leaking a little more each time? Then aligning your propeller shaft is one of the first things to check. However, not every vibration or leak is caused by misalignment. A sagging engine mount, a worn inner bearing, or a bent shaft can cause the same symptoms.
In this blog, you’ll read which complaints indicate an alignment problem, how to check the flange connection and engine setup yourself, and when it’s better to stop and have it measured. This way, you can order the parts you really need.
When is propeller shaft alignment necessary, and when isn’t it?
An out-of-alignment propeller shaft almost always gives warning signs before something breaks. The problem is that these signs resemble a handful of other issues in your drivetrain. Therefore, check the complaints first before touching the engine mounts.
Complaints indicating an alignment problem
An out-of-alignment issue usually announces itself like this:
- A vibration at a specific engine speed. The vibration appears around, for instance, 1400 rpm and disappears below and above that. That is typical of a drivetrain that is out of alignment.
- A housing bearing or stuffing box that gets hot. After an hour of sailing, feel the shaft tube. Warm to the touch is normal, too hot to hold is not.
- Leakage that increases during sailing. Does it barely drip when stationary, but is there water in the bilge after an hour of sailing? Then the shaft moves differently in operation than at rest.
- Irregular wear. Look at the rubber of the flexible coupling and the engine mounts. If one side is visibly wearing out faster than the other, then something is pulling askew.
- Resonance in the stern. A humming sound or vibration in the floor that wasn’t there last season.
What seems like it but is slightly different
These causes result in similar complaints and require different solutions:
- Collapsed engine mounts. Rubber ages and sags. The engine sags with it, and then the alignment is no longer correct, even if you adjusted it properly three years ago. New engine mounts resolve the cause, merely readjusting does not.
- A bent propeller shaft. After contact with the seabed or a piece of driftwood, the shaft can become bent. Recognisable by the fact that the deviation rotates with the shaft as you turn it.
- A worn inboard bearing. Play in the propeller shaft bearing allows the shaft to roll in the tube. This feels like vibration, but the engine is perfectly straight.
- A propeller out of balance. A dent, burr or bent blade causes vibration that increases with speed, not with a fixed engine speed.
- Debris around the shaft. A mooring line or fishing line around the shaft causes vibration and can damage the seal. A rope cutter prevents this. Always check this first, it takes you five minutes.
- Play in the gearbox. If the play is in front of the flange instead of behind it, the problem lies in the gearbox and not in the alignment.
How much play is permitted in a propeller shaft?
This question comes up often, but there is no single figure that applies everywhere. Play means something different in three places:
- In the bearing: the shaft can move sideways in the tube. Here the play should be minimal, depending on the type of bearing and the shaft diameter.
- In the flange connection: the flanges are not flush against each other. This is the clearance you measure during alignment.
- Axial: the shaft can move in the longitudinal direction. A little bit is normal, not centimetres.
You can practically recognise too much play like this: you feel a click when you move the shaft back and forth by hand, you see the shaft visibly wobbling while rotating, or the leakage increases precisely at the moment the vibration arises. If in doubt, or if it concerns a heavy shaft, have it measured rather than estimated. Incorrect adjustment by feel will cost you a coupling.
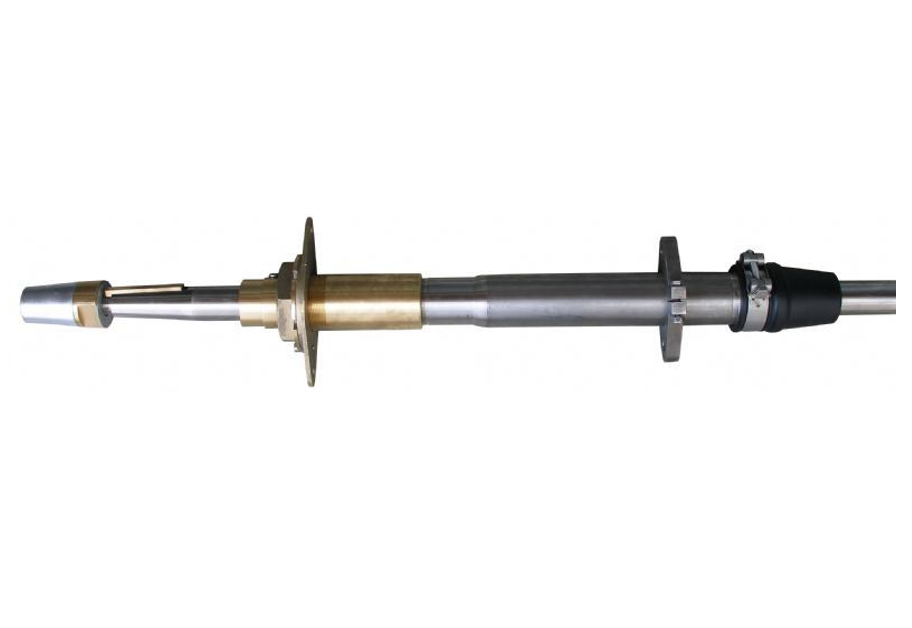
What breaks if the alignment is incorrect
An misaligned drivetrain is continuously under tension. That tension has to go somewhere, and that’s precisely where the damage occurs.
The bill usually comes in this order. First, the bearings of the reverse gear go, because the output shaft is subjected to lateral load while it is not intended for that. Then the crankshaft of the engine wears out, because it also has to deal with a lateral force.
Subsequently, the bolted connections between the flanges stretch due to the alternating load. And the flexible coupling or the rubber engine mounts don’t reach their lifespan, sometimes not even half.
Meanwhile, these effects reinforce each other. The more the bearings wear, the further the alignment drifts, and the more the rest suffers.
A flexible coupling does not correct misalignment
The misunderstanding that most often costs money concerns the flexible coupling. A flexible coupling absorbs temporary misalignment and engine movements, but does not correct permanent misalignment in the drivetrain.
The coupling is intended for vibrations, the jolt when engaging, and the movement of an engine mounted on rubber. If you only replace the vibration dampers or the coupling because the rubber is worn, the vibration will be gone for two weeks and then return. The basic alignment must be correct, even with a flexible coupling.
The exception is a system with a constant velocity driveshaft, such as Python Drive. In this case, the construction absorbs the angular differences and the thrust is absorbed separately, making exact alignment with the engine no longer necessary. If you have a standard rigid flange connection, that doesn’t apply to you.
How often to check?
Proper alignment once doesn’t mean it’s sorted for the rest of the boat’s life. Rubber ages, bearings wear out, and the engine slowly sinks. Therefore, maintain this frequency:
- Annually: check the alignment between the engine and propeller shaft, plus the condition of the flexible coupling and engine mounts.
- Every two years: have the engine mounts adjusted if your engine has a flexible installation.
- Always: after grounding, after a rope in the propeller, and after re-engining.
Are you re-engining? If so, have the propeller shaft clearance measured with the stern out of the water first, and record those values. If you skip this step, it often turns out afterwards that the entire installation needs to be realigned.
Doing a misalignment check yourself: how to check the flange and engine setup
A shaft alignment check is a job you can perfectly do yourself with a bit of patience. You’re not measuring whether the engine is straight, you’re measuring whether the flange of the gearbox is perfectly parallel to the flange of the propeller shaft.
The propeller shaft is the zero point for the entire alignment. You work from the rear propeller shaft bearing forwards towards the engine, and you adjust the engine to the shaft. Never the other way around, as the shaft is fixed in its tube while the engine sits on adjustable mounts.
Getting started safely
Ensure the boat is stable, turn off the engine, and remove the key. Clear the area around the flange and get your tools ready: a set of feeler gauges, open-ended and ring spanners, a marker pen or felt-tip, and a dial indicator if you have one.
Take a photo before you loosen anything and mark the position of the flanges relative to each other. That will save you searching when reassembling.
Measuring the flanges
Follow this sequence:
- First, visually inspect. Clean the flange joint. If you see rust, stretched bolts, or a deformed flange, you already know enough.
- Loosen the bolts and pull the flanges a few millimetres apart. Then push them back together without tightening the bolts.
- Measure the gap all around. Use a feeler gauge to measure at four points: top, bottom, left, and right. Note each value.
- Turn the shaft a quarter turn and measure again at the same four points. Repeat until you have gone all the way around.
So, two measurements are important: the gap at the four positions, and whether those values change as you rotate the shaft.
What the measured values tell you
There are two types of misalignment in alignment. In the case of parallel misalignment, also known as offset, the shafts run parallel but are not at the same height or centre line. With angular misalignment, the shafts are at an angle to each other. A gap that is uniformly wide while the flanges do not meet properly indicates offset; a gap that is wider on one side indicates angular misalignment.
Here are your measured values:
- Difference between top and bottom: the engine is too high or too low. You correct a height difference with the engine mounts.
- Difference between left and right: the engine is off-centre laterally. Also a correction via the engine mounts, but then horizontallyl.
- Values that rotate with the shaft: the problem isn’t with the engine setup. Then the shaft is bent or the flange is mounted crookedly on the shaft. Further adjustment is pointless then.
- The gap is the same all around: the flanges are Parallel. Parallel flanges are exactly what you want to see.
The permitted deviation depends on your engine and installation, and is stated in the engine manufacturer’s manual. Can’t find it? Give us a call, and we’ll work it out together. Adjusting by feel is the most expensive route here.
Adjusting engine mounts
If the measurement is incorrect, you correct it via the four engine mounts. Work as follows:
- Turn in small steps, half a turn at a time. A full turn often moves the engine more than the deviation you wanted to correct.
- Work diagonally. If you adjust the two supports on the same side one after the other, the engine will tilt and your previous measurement will no longer be accurate.
- Measure again at all four points after each round. Without an intermediate measurement, you won’t know if your correction has made the problem smaller or larger.
- Keep the engine level. Do not pull it askew to get a reading to fit, as you will then shift the stress to another point in the drivetrain.
Count on multiple rounds. Each correction will adjust the other three points accordingly.
When you stop and have it done
There are situations where continuing on your own will only cause harm. Stop and seek help if:
- The flange is clearly visibly crooked. A deviation that you can see with the naked eye is too large to be resolved by the engine mounts.
- As it moves in the housing by centimetres. This much play indicates a worn bearing, and you cannot align a moving shaft.
- The engine mounts are broken or sagged. You are then adjusting to a moving target, so replace the mounts first.
- The deviation rotates with the shaft. A bent shaft or a crookedly mounted flange cannot be fixed by the engine setup.
- The vibration returns after you have adjusted it properly. Recurring vibration after a correct measurement points to a cause further down the drivetrain.
In those cases, something else is going on than alignment alone.
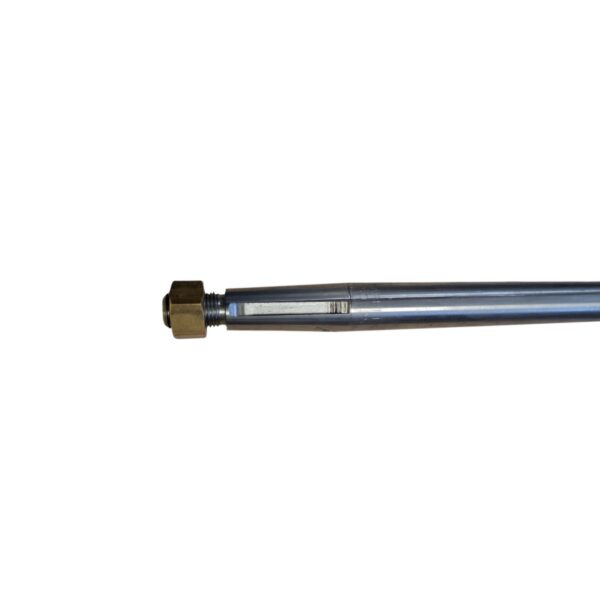
Leakage, worn shaft and seal: what is the real cause?
Leakage from the stuffing box is often the initial complaint. However, leakage doesn’t automatically indicate a worn seal. Alignment, bearing, and sealing are interconnected, and if you replace the wrong component, you’ll be back where you started next season.
What should I do if my propeller shaft seal is leaking?
First, determine when the leak occurs. The timing of the leak tells you almost everything:
- Only when stationary, steadily dripping: usually the seal itself. With a stuffing box or water-lubricated gland, you can often make slight adjustments. Tighten evenly, so the box remains aligned with the shaft, and no further than the point where you can still turn the shaft by hand.
- Especially during and after sailing: the shaft moves differently in operation than when stationary. This points towards misalignment or a worn inner bearing.
- Leakage coinciding with the vibration: almost always alignment or bearing, not the seal.
Also, look out for these signs: black rubber particles around the stern tube, salt deposits, a hot stuffing box, or water in the bilge that only appears after an hour of sailing.
If there is a visible groove in the shaft where the packing runs, then the shaft is worn. A new seal will then no longer seal, as it will run in the same groove. In that case, replace the propeller shaft, or have it rebuilt.
Important to remember: a new seal on a crooked installation will wear out in the exact same place again. Fix the cause first, then the symptom.
What is the best propeller shaft seal?
There is no system that always wins. The choice depends on your sailing area, your maintenance routine, and the condition of the shaft. The three main flavours:
- Stuffing box with grease lubrication. Simple, cheap and easy to adjust yourself. You do have to grease it regularly, and the grease eventually ends up in the water.
- water-lubricated system. Environmentally friendly and low-maintenance, using water as a lubricant. If you sail a lot in shallow and sandy waters, sand grains can cause wear over time.
- Mechanical seal. Dry and low-maintenance, but less forgiving of alignment errors. Works well on an installation that is properly aligned, less well on one that isn’t.
Before you start comparing, first check what’s currently fitted. For example, if your shaft has a Volvo Penta seal fitted, search specifically for that type in combination with your shaft diameter and tube size. This will save you a lot of searching in a broad category. View the range of propeller shaft seals in the webshop.
If you sail in saltwater, keep an eye on your anodes too. Corrosion around the shaft and the stern tube accelerates wear on the seal.
Frequently asked questions
Should the boat be in the water when aligning?
You align the boat in the water, as a hull changes shape once it’s out of it. This is certainly true for steel and poyester vessels. You can do a rough adjustment ashore, but the final check and correction should be done in the water. After launching, leave the boat for a few days before taking the final measurements.
Can I do alignment without a dial gauge?
Yes. You can get quite far with a set of feeler gauges, as long as you measure at four points and rotate the shaft in between. A dial gauge is more accurate and easier to work with for larger shafts. For precision work on large installations, a laser alignment system is the most accurate method, as it determines offset and angular deviation in one measurement.
How often should I have the alignment checked?
Once a year for a normally used installation. If your engine is flexibly mounted, have the engine mounts adjusted at least every two years. Always check additionally after grounding, after a rope entanglement on the propeller, and after an engine change.
The correct parts for your propeller shaft system
Aligning the propeller shaft starts with diagnosis, not the parts list: first measure if the flanges are parallel, because a new seal or coupling will not resolve a misaligned drivetrain.
For a shaft alignment job, the same parts almost always come up afterwards: engine mounts, a propeller shaft coupling or flexible coupling, a new seal, an intermediate bearing and sometimes a stern tube flange. If the shaft is worn or bent, you’ll need a complete propeller shaft set.
Do you know what you need? Then order it directly in the webshop, with a two-year warranty on all new items.
If you’re unsure about the diagnosis, or if your measurements don’t match what you expect? Call or WhatsApp us. It helps if you have this information to hand:
- The make and model of your engine and gearbox. This allows us to look up the correct tolerances and suitable parts.
- The diameter of your propeller shaft and the size of the stern tube. These two measurements determine which seal and which bearing will fit.
- The type of seal currently fitted. A stuffing box requires a different approach than a mechanical seal.
- A few photos of the flange connection and the stuffing box. On one photo, we can often see at a glance if the shaft is worn.
- Your measure values at the four points, if you have them. With those numbers, we can immediately tell whether it’s an offset or an angular deviation.
With that information, we can tell straight away whether you need a part or if something needs to be measured.
 Get quick help via Whatsapp, click here!